


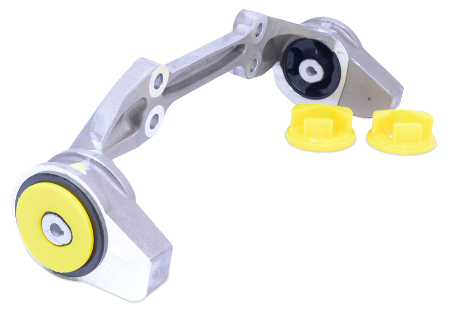
Rear Differential Mount Insert - Street Version
2016-2026
Manual Transmission Only
PART NUMBER: 61-1926
DESCRIPTION
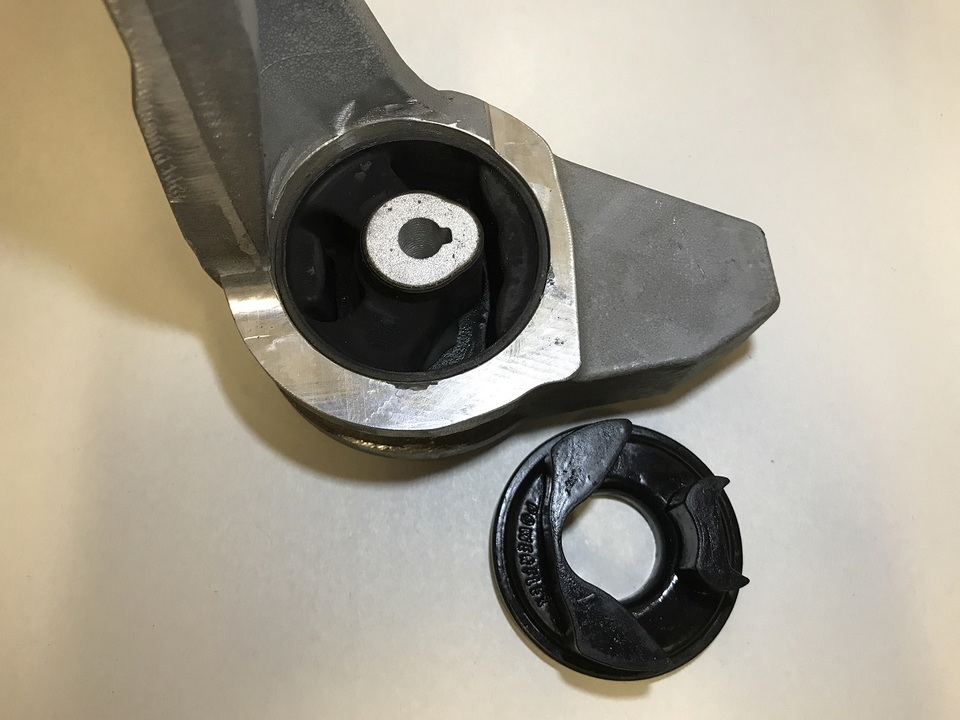
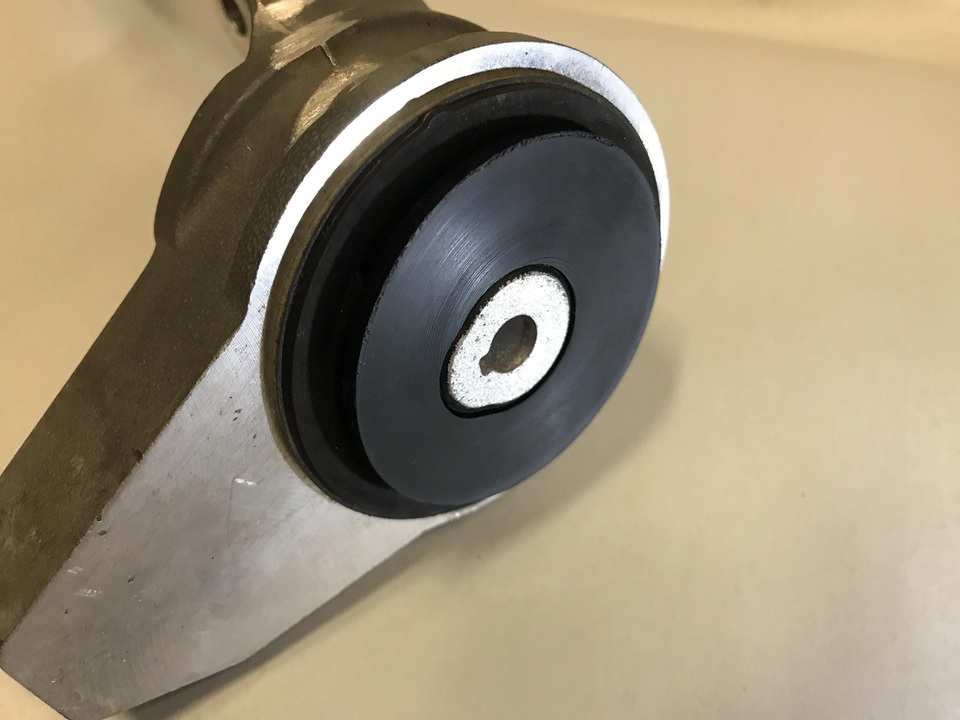
These polyurethane inserts fit into and fill the voids in the factory differential bushings. By filling these are gaps, the movement of the bushing is limited for better stability under acceleration and smoother shifts. Avoids the hassle of a full bushing replacement with these inserts - no need to press/burn out the old bushings, the inserts just slide right in to the factory bushing. FITMENT INFO:
Fits bushings in OE bracket with part number NA5F 39730 and fits manual versions only.
INSTALLATION NOTES:
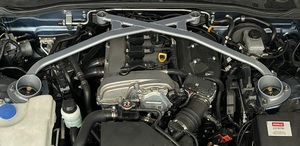
Requires removal of the differential to install.
INSTALLATION INSTRUCTIONS.
CUSTOMERS WHO BOUGHT THIS ITEM ALSO BOUGHT


Progress Technologies FRONT and REAR AntiSway Bar Combo!
MIATA MX5-ND 2016-2026
Our BEST All Purpose Sways, Street, Autocross, Track!

RoadsterSport ND Race Muffler
MIATA MX5-ND 2016-2026
Just 12 pounds!
A Revolutionary Helmholtz Chamber Race Muffler for Max Fun!
TEAM RECOMMENDATIONS
Customer Reviews
Rear Differential Mount Insert - Street Version
PowerFlex Rear Differential Mount Inserts - Street version
Yes, these are yellow. PowerFlex's website says their "yellow" bushings are 70a Durometer if you were wondering like I was.
Yes, you can install these yourself with simple tools!
Yes, you should remove the exhaust it's only 2x 14mm bolts!
Yes, you should get a long 17mm Flex head. I did it without one, but it took me 1 hour and 30mins to the do install, and the whole time I thought I should have gotten one.
Instructions:
- Get the car on jacks (obviously).
-Take off the exhaust it's 2x 14mm bolts and tensioning springs and 4x exhaust hangers total, takes like 5mins. (optional, feel how heavy the stock exhaust is and consider buying a GWR exhaust ;) hopefully further down the mod list)
-Get a jack (a scissor jack would be better and give you more space) and gently lift the diff from the PPF bolts, this will give you more maneuvering space.
-You can get to the diff brace bolts that are connected to the subframe; from the wheel wells using a 17mm socket and an extension.
-Gently lower the diff so it is no longer supported by the jack.
-To get to the bolts that are connected to the top of the diff, push the exhaust heat shielding out of the way a little bit and it should give you enough space. Then get out that Handy Dandy Loooong 17mm flex head and loosen them.
-lift the brace off the studs and position it so you can insert the bushings. (remember there is piece "a" and piece "b", you can tell them apart by how tall they are. You can place them flat on the ground and see that part "b" is taller.)
-Insert part "b" with the thicker lips on the side toward the center and part "a" with the thinner lips on the outside towards the suspension.
-Put everything back together in reverse order
-Torque spec is 45 lb-ft for nuts and diff bolts. It helps to use a 17mm crow's foot socket that can attach to a torque wrench for the top bolts ( I put paint marker on the bolts so I can visually see I torqued them, and it lets me inspect them later down the line to make sure they haven't moved)
-DON'T FORGET TO BEND THE EXHAUST HEAT SHIELD BACK IN PLACE ( it will vibrate and rattle against the bottom of the trunk making you think the bushings were a bad idea but it's actually just the heat shield. Ask me how I know.)
Review:
-Instantly noticed the shifter wasn't vibrating/shaking as much during cold Idle!
-No NVH increase!
-No Diff whine!
-When accelerating hard through gears, the gears are exactly where they are supposed to be and easier to get into!
-When going around a corner the back end feels like it settles in better
-Less wheel hop, I'm guessing what's left is a product of soft suspension/bushings
-It could be placebo, but feels like clutch engagement was a little better.
Best of all you don't even know it is there for the entirety of regular driving, you only know it's working when you push the car harder. This is one of those mods with many Pros and what feels like no Cons. (The best mods are the ones that enhance your driving or you don't notice they are there until you need them, unless it's an exhaust of course!)
Had these sitting around for a long time. I was a bit timid considering what "might" be required to install them.. Install instructions below, you can probably handle it.
Installed them in about an hour give or take.
-Pretty Easy
-Tight Space to Work In
-Noticable Performance Improvement
-Worth the Money for the Benefits
Benefits mostly revolve around the differential's more direct feel putting power down. Does significantly help wheel hop depending on situation. Transmission should also move around a bit less and shift better. Havent really noticed but the gearbox may feel a bit smoother.
Had a situation where I reved the car up a good bit and got off the clutch quickly(twice back to back different pavement/smooth and poor quality). It was dry, sunny, and 75. Normally a "careless" poorly executed launch ends in wheel hop and a bad time..
Well, not this time!! It just spun the tires in a controlled manor and felt much tighter!!
Albeit, on a rainy day just the day before it hopped really bad back to back to back.. Was very discouraging for my first impression's of the new bushings.. It must just have to do with my specific setup(wheels,tires,springs,etc...). It used to rip off nice slides and spins in the rain but not yesterday.. But in the dry and at the first auto x event this weekend the car felt great!!
In summary I would recommend them. Definitely do work as described.
Install
Tools
-17mm wrench
-17mm socket w/ratchet and extension's
-Torque wrench ($20 @ Harbor Freight)
-Jack and jack stands
-Quickjack/lift!! :D
_______________________________________________
-Jack up and secure car enough to work under it.
-Lightly support diff or the trans brace bolts slightly forward(use wood or plastic between vice surface and vehicle).
- There is an aluminum bracket above the diff. One bush each side. After diff is supported, remove the bolts through the bushings. 17mm socket
-
-After bush bolt's are removed lower diff to rest on subframe.
-If you reach up over the back of the subframe you will feel 4 nuts fastened to studs above the diff. Remove these nuts. 17mm wrench
-After removing these nuts you should be able to lift the bracket off the diff. You dont need to remove it from the car. But you can if you want, I did not.
Clean bush voids before installing inserts(I used compressed air).
-Put in your insert's, check included packaging to know which Bush's are A or B. I believe A Bush's went on the outside.
-Torque spec is 45lb ft for nuts and diff bolts.
-Put it back together and enjoy.
Getting the differential out is kind of annoying, but I had mine out to swap from the GT open diff to the club limited-slip diff. Since it was already out, I slipped in these inserts and they make the shifting and rear end feel noticeably more firm. My car is built to be a track car, but I went with the street inserts for a semi-firm feel.
My car is essentially stock suspension wise currently but I was told these Inserts would help shifter feel and the slight wiggle you feel from rear diff at times
I honestly have to say the street derometer but Inserts make the car feel soooooooooooooooooooooooooo much better going through gears feels way more solid and the car seems feel even more planted when the lsd is doing it's thing for only like $70 this is definitely a mod you will enjoy no matter if your 100% stock or not
Want to Review This Product?
(You must be logged in as a Good-Win-Racing Member. Join Now. It's Free!)